How do you like the look of this Media Center?


Before we start I’d like to warn everyone that this guide involves a lot of downloads. It’s also quite extensive, you may wish to make this a weekend project. Some of this guide is aimed at experienced users of Windows & W7MC, it includes modifying system protected files and should be approached cautiously.
I’m using .avi movie files. You may have different file types and might have to adjust some of the settings shown in this guide accordingly. With that said lets crack on!
We’re going to need some tools to begin, so we need to start a few downloads before we can go anywhere.
- Media Browser
- Restorator 2007
- XML Notepad 2007
- meta<browser/>
- WMCCC
- Hide Strips
- OABSoftware Email
- Mencoder
- This batch file
Install all but the last two.
1. Organise Your Movies
First things first, let’s organise our movies. You’re going to need to have your movie collection regimented if this guide is to succeed. You can either do it manually or use Rich’s batch file. Each movie must be in it’s own folder.
So, Get Smart (2008) for example would look like (eg.) H:\DVD\Comedy\Get Smart (2008)\Get Smart (2008).avi
I’ve found through trial and error that stating the year in brackets after the movie title helps metadata grabbers do the job efficiently.

You’ll need to do this with every single movie you want included in Media Browser (MB). If you have a large movie collection, it’s also worth putting the movies into genre categories.
1a. Join Two-Part Movies.
If you have two part movies that you want converting into one. Grab the copy of Mencoder you downloaded earlier, and copy mencoder.exe into the folder with the movies you wish to ‘join’. Make sure that each part is correctly labelled “1” & “2”. Open a command prompt window in that folder (Shift & Right Click on folder) and type this command;
mencoder -oac copy -ovc copy -noodml -o “joined.avi” “1.avi” “2.avi”
Press enter. When it’s finished doing it’s thing, be sure to check the ‘joined’ movie thoroughly for breaks or inaccuracies. If all is well, delete “1” & “2” leaving just ‘joined’. You can rename ‘joined’ to whatever you like. (Always make a backup copy of your movie folder just incase something goes wrong with the originals!)
2. Getting MetaData For Your Movies.
There are a lot of tools out there for grabbing MetaData for movies. My favourite is meta<browser/>. Using meta<browser/> can take some getting used to and you’ll probably have to practice with it. The results are most definitely worth it though. Meta<browser/> will download multiple DVD covers, backdrops, banners, episode thumbs, ratings, synopsis and actor images, you name it, meta<browser/> has it covered.
To get started, open up meta<browser/> and go to Options at the bottom of the window.
Click on Add a new location, choose your movie folder and be sure to press enter after choosing. Click Save.
At the bottom of the main windows click Refresh List and you’re movies will show in the left hand pane.
Click on a movie you want to process and click on Fetch Movie MetaData. meta<browser/> will then begin to download all the information you need. You can choose from multiple backdrops, banners & DVD covers.
Be sure to click Save when your happy with the MetaData. Your film folder should look something similar to this once you’ve downloaded and saved the MetaData;
I advise starting with small folders or individual movies. If you find you’ve messed up, don’t panic! Go to the movie folder on your HDD and delete everything apart from the actual movie. There are several ways to process your movies. I’m giving the simplest example. You may want to experiment by copying a folder of movies to a different location and running through meta<browser/> to practice it’s different functions and find which way suits you best.
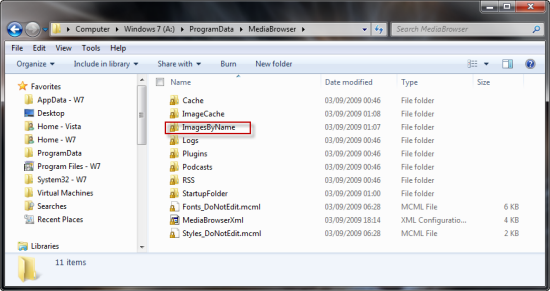
*= After installing Media Browser you’ll have an ImagesByName folder for all of the actor thumbs. Your folder will be considerably different to mine so please do not copy the address. Yours will likely be C:\ProgramData\MediaBrowser\ImagesByName
3. Configuring Media Browser.
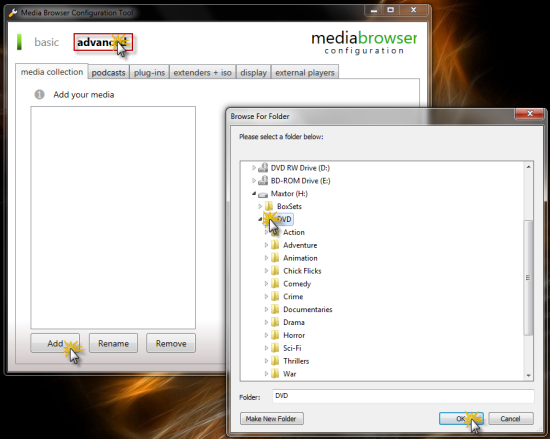
Start the Media Browser Configuration Wizard. Click advanced to open all of the extra option tabs. Click Add to start adding your media. After you’ve added your first folder, you’ll see that you can specify more than one location for that particular media. eg. I’ve chosen my DVD collection which is on H:\ i may have another folder on C:\ that i also want to add to ‘DVD’ in MB. Treat this as you would the new library function in Windows 7.
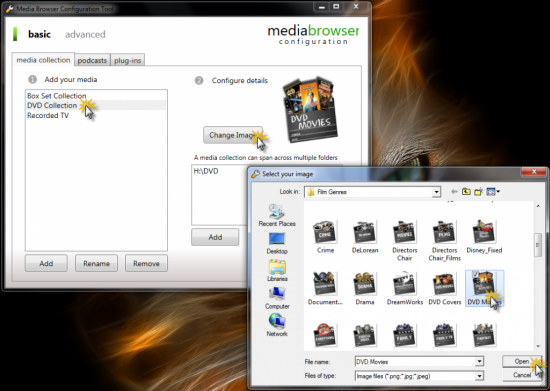
Once you have all of your folders added, you’ll probably want to apply images to them. Go here for an excellent collection of Movie Genre icons. Click on the folder you wish to change, click on Change Image and navigate to the image of your choice. MB will automatically save any changes made to the configuration wizard.
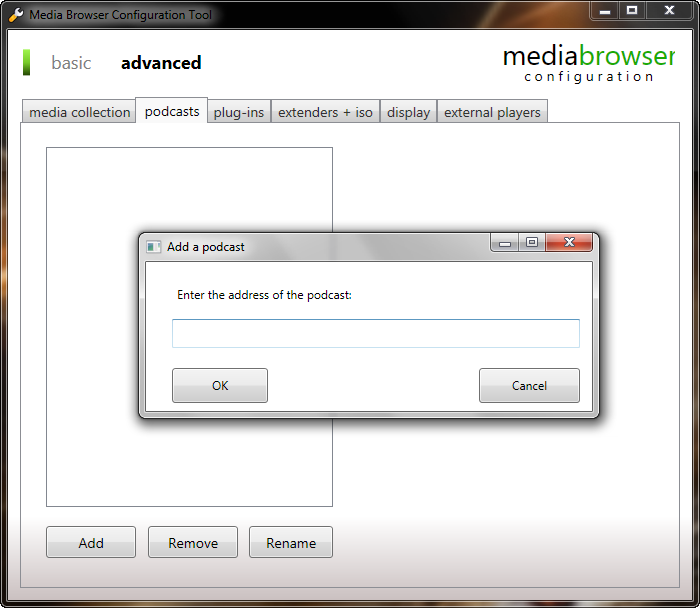
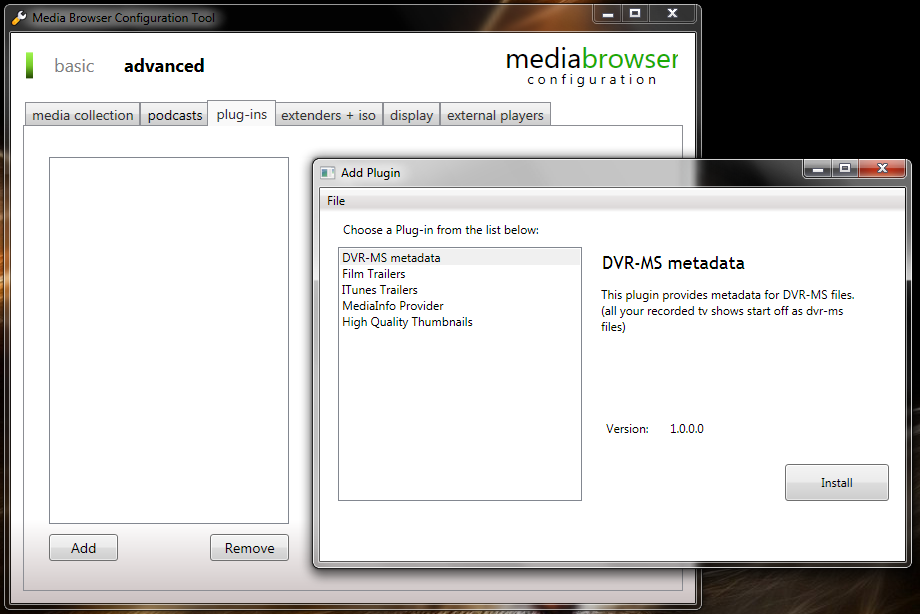
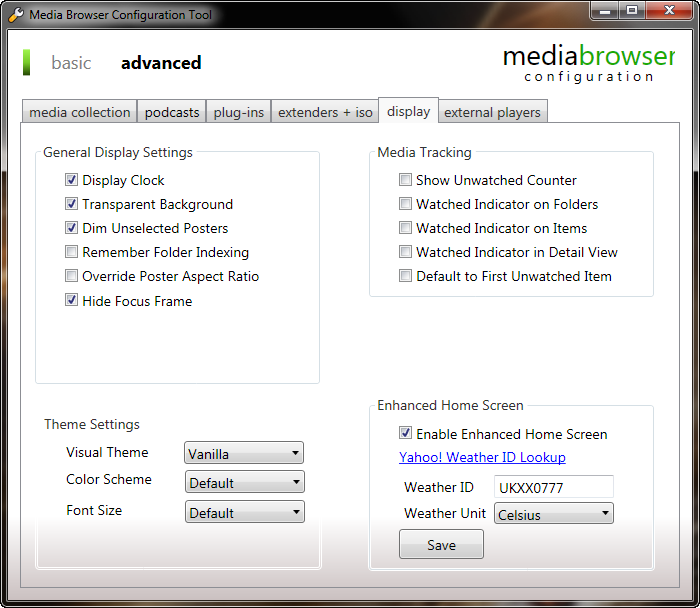
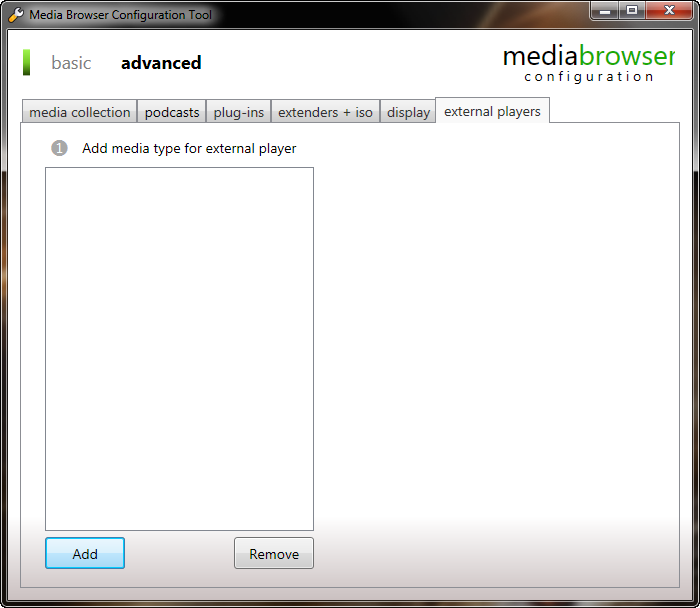
Media Browser supports podcasts, multiple plug-ins, the ability to play a movie from a mounted ISO, and additions of media types for external players. Have a play around with the ‘display’ in particular. The settings in the display tab in fig. enables the views you see at the top of this page. Feel free to mess around with them to suit your taste.
By default Media Browser doesn’t add a folder for the actor images meta<browser/> downloads. ProgramData is hidden by default, you’ll need to make sure that the radio button for ‘Show hidden Files & Folders’ is checked on in Folder options (in any explorer window).
Navigate to C:\ProgramData\MediaBrowser and create a new folder called ‘ImagesByName’. Be sure to add this location to the options menu in meta<browser/>
4. Add Media Browser Strip To W7MC Start Menu
The latest version of Media Browser doesn’t automatically add a ‘Media Browser Strip’ to W7MC, you’re going to need to create a custom strip.
To do this, open up the WMCCC program you downloaded earlier and click on Create a new start menu strip > Next.
Name your custom strip, you won’t be able to name it Movies as Windows uses that name. Click Next
Select media browser from the list of available programs.
If you add more than one program to the strip, set the program order and click Next.
If you have more than one strip already installed, choose the start menu strip order and hit Next.
Click Finish to erm…..finish.
Now when you open up W7MC you’ll see a Media Browser strip, click it to access your new movie library and start having fun!
Looking for something else? |





Comments